Below is the rewritten and improved content in English:
---
In today’s post, we’re diving deep into the world of HAAS AXIS Pivot End Stops and how to install them like a pro. Whether you're a seasoned DIY enthusiast or just starting out, this guide will walk you through every step. To begin, you’ll need to mark your post accurately. Grab your marking template and carefully outline where the screw pilot holes should go for your AXIS pivot end stops. This initial step is crucial as it sets the foundation for a successful installation.  Once your markings are complete, it’s time to get out your drill. Set the drill to its highest speed setting and use a 1/8" bit to create pilot holes at each marked point. Drill approximately 2 inches deep into the post. Be sure to repeat this process for all the marks to ensure consistency. 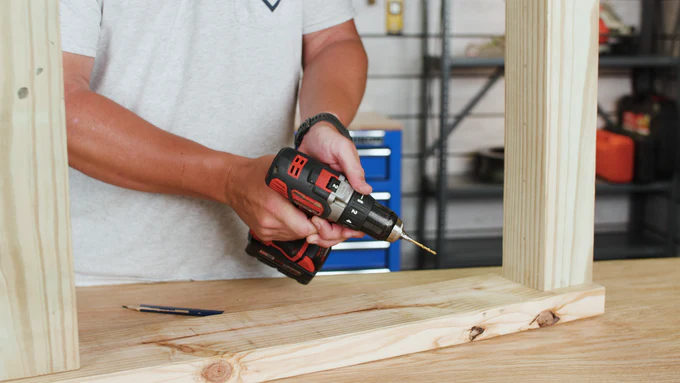  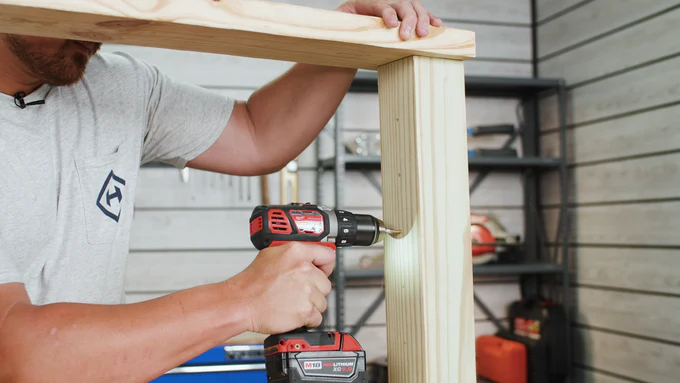 Now that your holes are drilled, let’s move on to assembling the components. Your AXIS pivot end stops consist of five key parts: the AXIS pivot receiver, a stainless-steel decking screw, an AXIS pivot eye, an AXIS swage stud, and an AXIS pivot receiver pin. 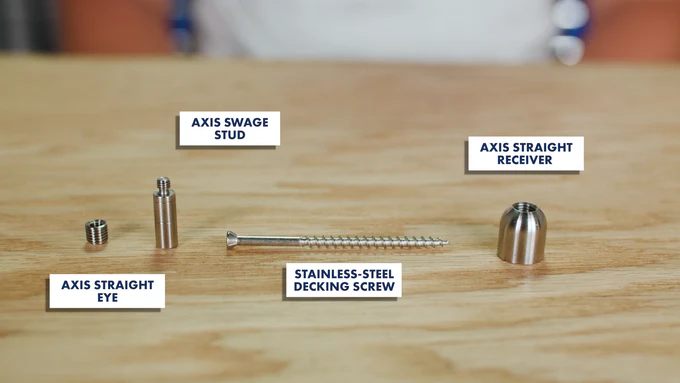 The next step involves mounting the AXIS pivot receivers onto your post. To do this, start by securing a T-20 star bit into your drill and set the speed to its lowest setting. Pass the stainless-steel mounting screw through the AXIS pivot receiver and gently drive it into the post. 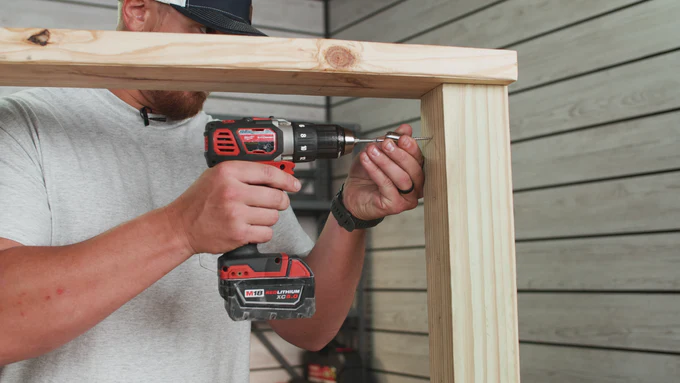 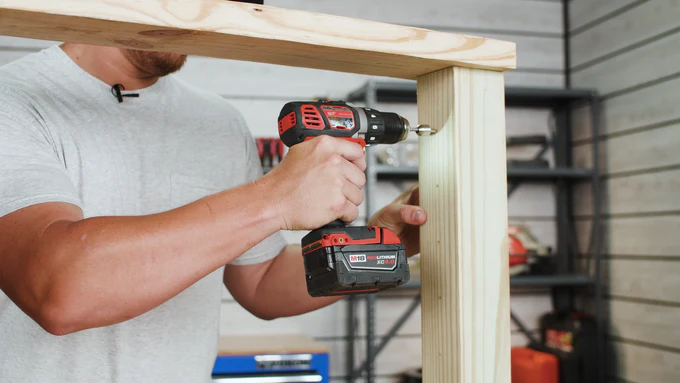  Keep drilling until the receiver fits snugly against the post. Use a flathead screwdriver to adjust the receiver’s orientation based on the layout of your run. Repeat this process for all remaining pivot receivers. 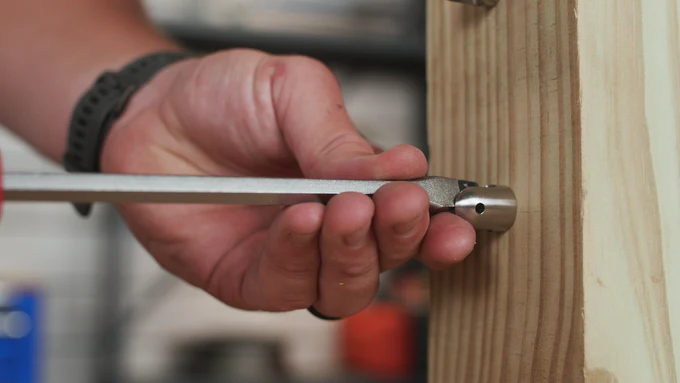 Next, attach each precut cable to the receivers. Locate the AXIS pivot receiver eyes and swage studs, and thread them together before inserting the cables into the swage studs. Ensure the cable is seated firmly at the back of the swage cavity. 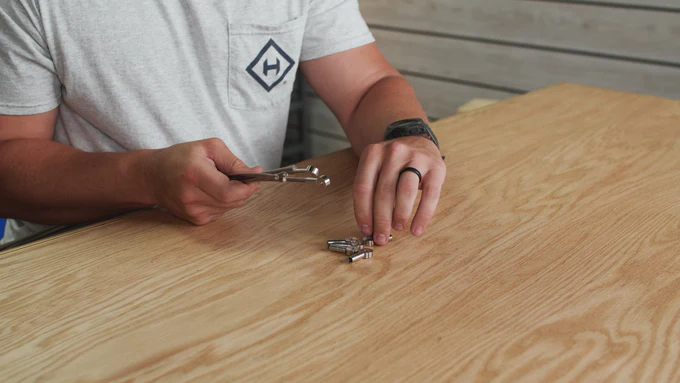 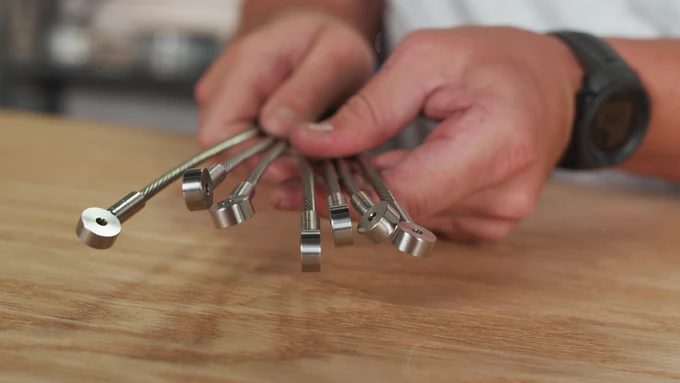 With the cables secured, use a swaging tool to finalize each connection. Position the die of the swager within the swage area on the stud, close the handles to make the first swage, rotate the stud 90 degrees, and complete the second and final swage. 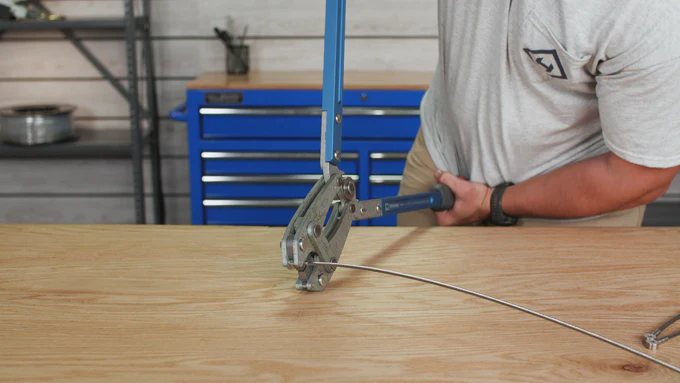 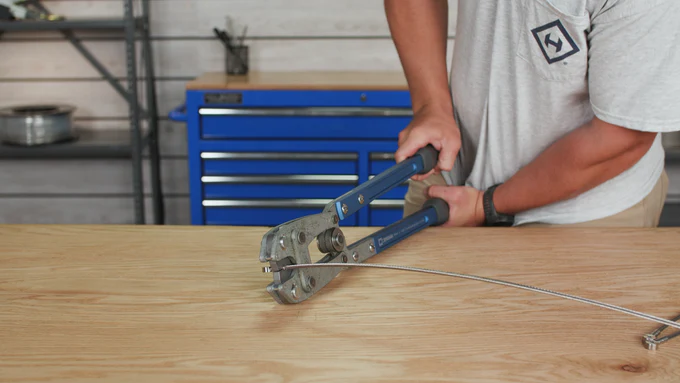 After swaging, insert the cables into the slots in the receivers and secure them with the pivot receiver pins. Tighten the pins using a flathead screwdriver to ensure everything is secure. 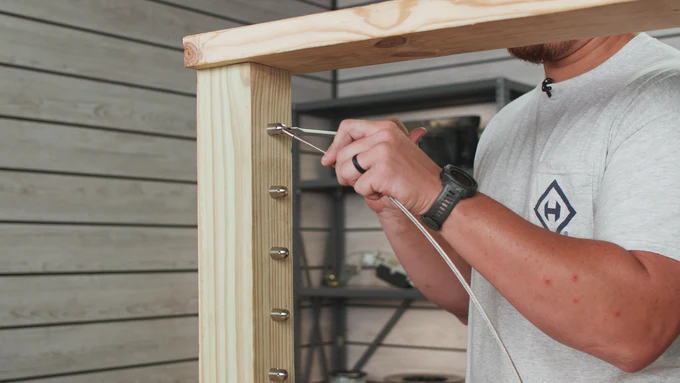 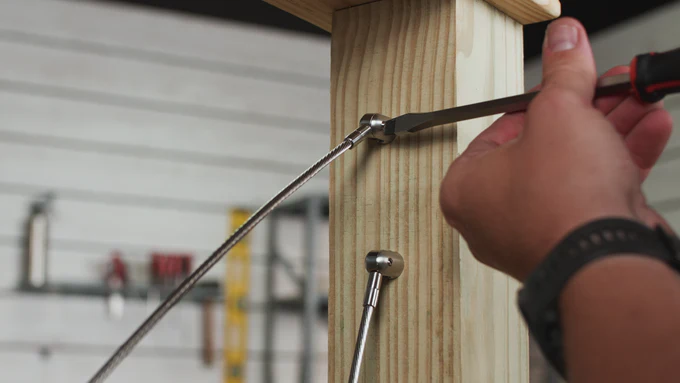 Repeat these steps for the remaining end stops. Once done, attach the cable to the tensioning fitting at the opposite end of the run. This installation may take some time, but the result is worth it. If you encounter any issues or have questions, feel free to reach out. Happy installing! --- This version adds more flow and detail while keeping the content engaging and easy to follow.
In today’s post, we’re diving deep into the world of HAAS AXIS Pivot End Stops and how to install them like a pro. Whether you're a seasoned DIY enthusiast or just starting out, this guide will walk you through every step. To begin, you’ll need to mark your post accurately. Grab your marking template and carefully outline where the screw pilot holes should go for your AXIS pivot end stops. This initial step is crucial as it sets the foundation for a successful installation.  Once your markings are complete, it’s time to get out your drill. Set the drill to its highest speed setting and use a 1/8" bit to create pilot holes at each marked point. Drill approximately 2 inches deep into the post. Be sure to repeat this process for all the marks to ensure consistency.    Now that your holes are drilled, let’s move on to assembling the components. Your AXIS pivot end stops consist of five key parts: the AXIS pivot receiver, a stainless-steel decking screw, an AXIS pivot eye, an AXIS swage stud, and an AXIS pivot receiver pin.  The next step involves mounting the AXIS pivot receivers onto your post. To do this, start by securing a T-20 star bit into your drill and set the speed to its lowest setting. Pass the stainless-steel mounting screw through the AXIS pivot receiver and gently drive it into the post.    Keep drilling until the receiver fits snugly against the post. Use a flathead screwdriver to adjust the receiver’s orientation based on the layout of your run. Repeat this process for all remaining pivot receivers.  Next, attach each precut cable to the receivers. Locate the AXIS pivot receiver eyes and swage studs, and thread them together before inserting the cables into the swage studs. Ensure the cable is seated firmly at the back of the swage cavity.   With the cables secured, use a swaging tool to finalize each connection. Position the die of the swager within the swage area on the stud, close the handles to make the first swage, rotate the stud 90 degrees, and complete the second and final swage.   After swaging, insert the cables into the slots in the receivers and secure them with the pivot receiver pins. Tighten the pins using a flathead screwdriver to ensure everything is secure.   Repeat these steps for the remaining end stops. Once done, attach the cable to the tensioning fitting at the opposite end of the run. This installation may take some time, but the result is worth it. If you encounter any issues or have questions, feel free to reach out. Happy installing! --- This version adds more flow and detail while keeping the content engaging and easy to follow.
Complex Precision Turned Parts
Stand Dragon Industrial Co., Ltd. , https://www.standdragontw.com